If you're a blogger using Joomla, one of the main things you should be concerned about is reducing your time spent on each post. At least the time it takes to publish small bits of information with your own thoughts mixed in.
For this purpose, a blog editor like ScribeFire, which installs as an extension to Firefox, or the built-in blog editor of the Flock browser, may be of great help. However, to get it up and running with Joomla you need to install a few things and do some configuration changes. I'll show you exactly how.
These plug-ins will not work with later versions.
If you're already a Firefox user, I recommend you use ScribeFire as your tool. However, I have come to like the Flock browser more and more, and especially the built-in blog editor. In this tutorial, I'll show you how to set up both clients to work with Joomla.
But first, we need download and install some plugins.
First, download the MetaWeblog API plugin and install it using the Install function in Joomla. Make sure you get the latest version.
Then, download the RSD (Real Simple Discovery) plugin and install that too.
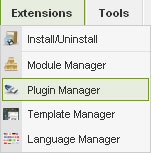
Now, go to the Plugin Manager and activate both plugins.

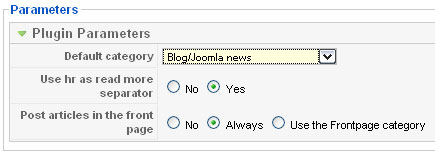
You might also want to go into the settings of the XML-RPC MetaWeblog plugin to do some configuration. You can decide which category is your default one for publishing post. You can also set an option to use convert the normal HR (horizontal line) to a Read More tag in Joomla. And finally, you can set if the articles should be published to the front page or not as default.

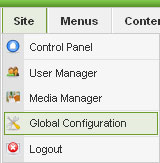
Then, head on over to the Joomla Global Configuration.

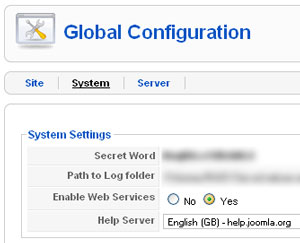
Choose the System tab, and set the "Enable Web Services" option to Yes. Click Save.

Now you're ready to set up the blog editor. We'll start with Flock.

